Quick Start Guide
Get up and running with GoValid in under 5 minutes.
Step 1: Create an Account
- Visit my.govalid.org/register
- Enter your email and create a password
- Verify your email address via the confirmation link
- Complete your profile setup
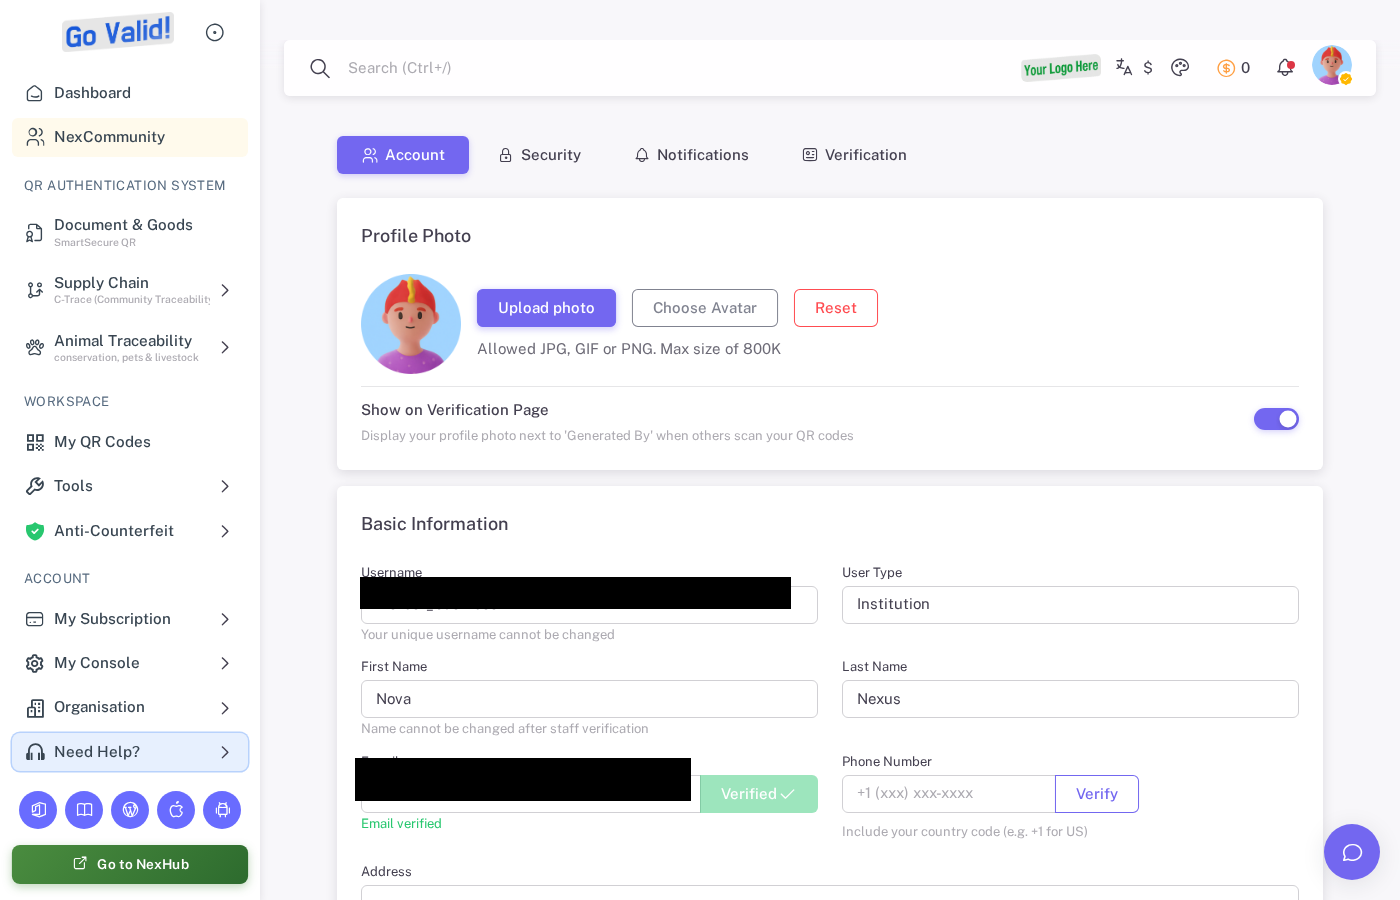
Profile Settings is where users confirm account identity, profile photo, contact details, and verification-page visibility.
Step 2: Choose Your Business Model
GoValid offers two ways to use the platform:
Subscription Plans
- Free: Get started with basic features
- Pro: Advanced features for professionals
- Enterprise: Full features for organizations
- Unlimited: No limits for power users
View plans at my.govalid.org/subscription/plans/.
Pay-as-you-go Credits
- Purchase credits and use only what you need
- No monthly commitment
- Credits never expire
Credit menus are shown for accounts using the credit-based model.
Step 3: Generate Your First QR Code
Method 1: Web Dashboard (Recommended)
- Log in to my.govalid.org
- Choose your QR source:
| Source | Menu | Best For |
|---|---|---|
| Document & Goods | SmartSecure QR | Documents, certificates, products |
| Supply Chain | C-Trace | Supply chain tracking |
| Animal Traceability | Animal Tracking | Livestock and pet tracking |
- For Document & Goods, choose a template:
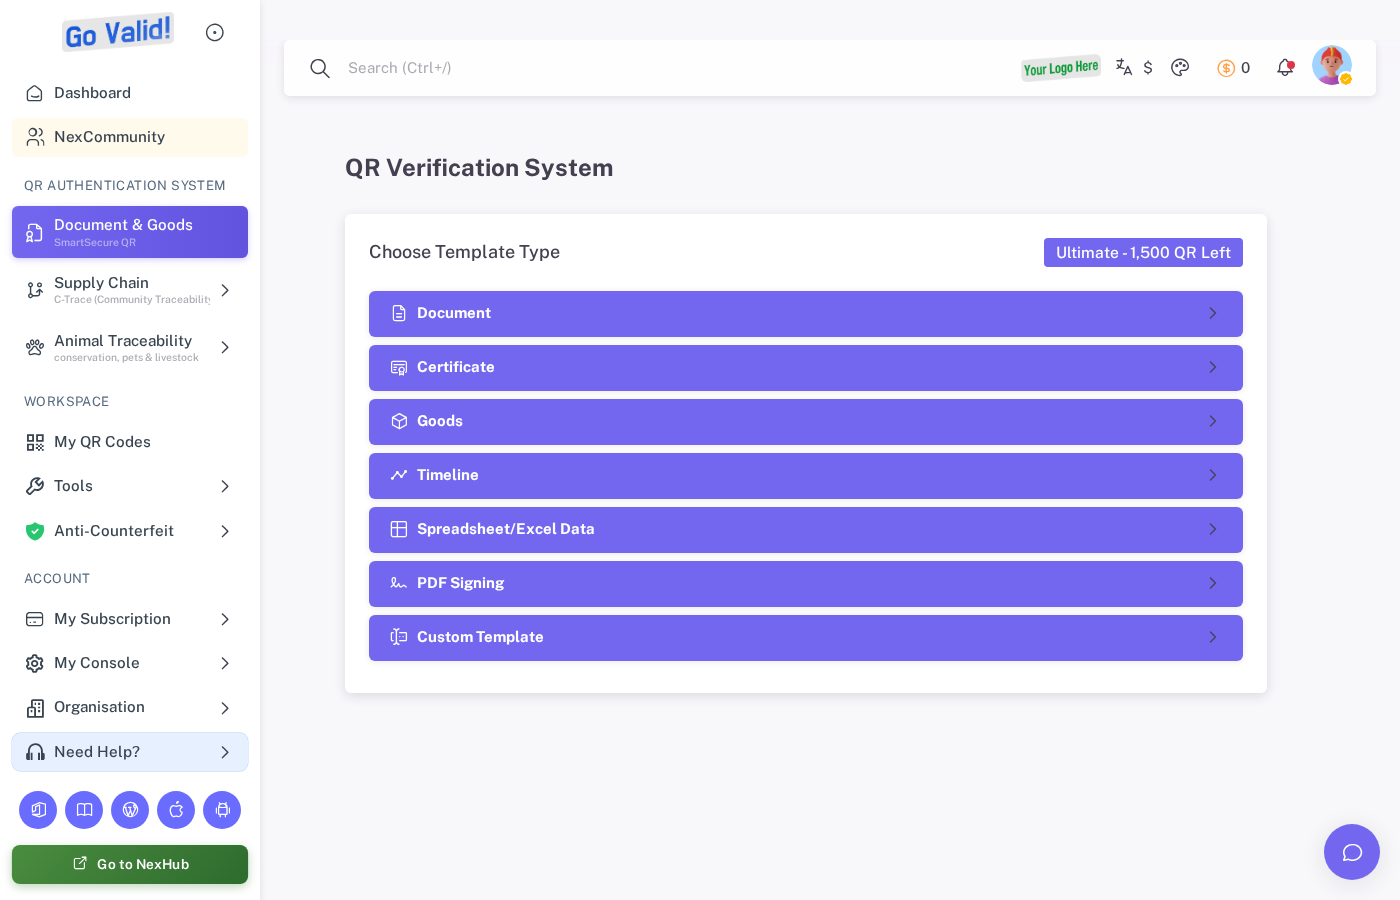
Document & Goods opens with template choices for document, certificate, goods, timeline, spreadsheet, PDF signing, and custom QR workflows.
- Document - For letters, reports, contracts
- Certificate - For awards, diplomas, credentials
- Goods - For products, inventory, assets
- Timeline - For event histories, project milestones
- Spreadsheet - For bulk QR from spreadsheet data
- PDF Signing - For embedding QR into PDFs
- Custom Template - Build your own form
- Fill in the required fields
- Select a security level (see Security Levels)
- Click Generate
- Download or share your QR code
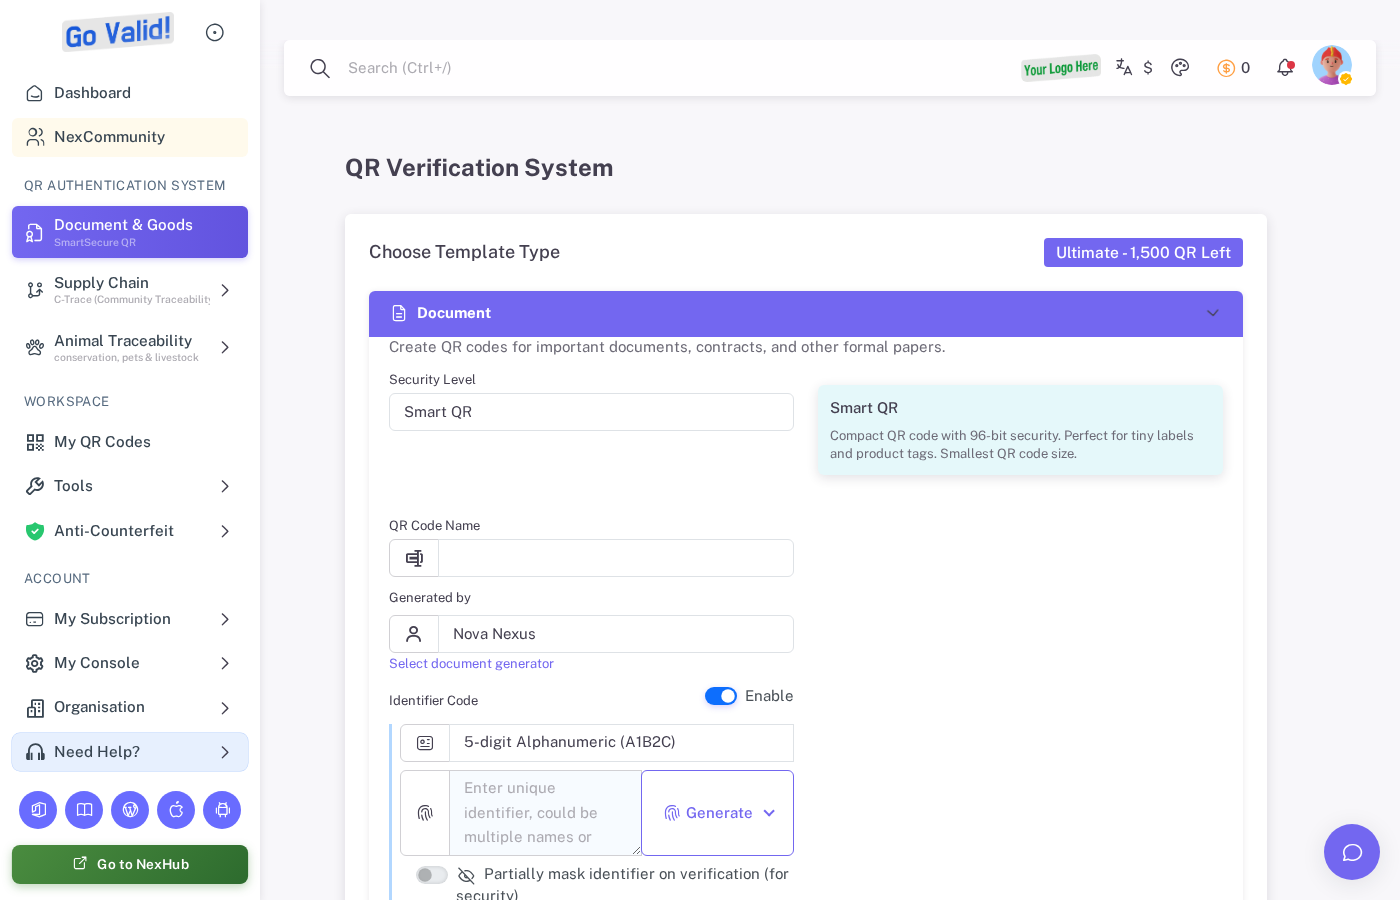
After choosing a template, the form expands so users can set the security level and fill in the details for the QR code.
Method 2: Office Apps
Generate QR codes directly in your documents:
| App | How |
|---|---|
| Word | Insert → GoValid → Insert QR |
| Excel | Select data → GoValid → Bulk Generate |
| PowerPoint | Insert → GoValid → Insert QR |
| OJS | Automatic on article publication |
| WordPress | Add GoValid block to posts/pages |
Method 3: Mobile App
- Open the GoValid mobile app
- Tap Create QR or scan an existing QR
- Fill in details and generate
Developer option: API
curl -X POST https://api.govalid.org/api/v1/qr/ \
  -H "Authorization: Bearer YOUR_API_KEY" \
  -H "Content-Type: application/json" \
  -d '{
    "title": "My First QR Code",
    "qr_type": "document",
    "security_level": "smart"
  }'
See API Quick Start for full details.
Step 4: Verify Your QR Code
Scan with Phone
- Open your phone camera or QR scanner app
- Point it at the QR code
- Tap the notification to open the verification page
Verify via URL
- Go to
https://govalid.org/v/{token} - Enter the QR token manually
- View verification results
Step 5: Explore Advanced Features
| Feature | Description | Learn More |
|---|---|---|
| Bulk Generation | Create hundreds of QR codes at once | QR Codes Guide |
| Password Protection | Require a password to view QR content | QR Codes Guide |
| Analytics | Track scans, locations, devices | QR Codes Guide |
| NexHub | Build a link-in-bio page | NexHub Guide |
| C-Trace | Supply chain tracking | C-Trace Guide |
Next Steps
- Understand Security Levels - Choose the right security for your use case
- Compare Plans - Find the plan that fits your needs
- Explore User Guides - Deep dive into each feature
- API Reference - Integrate GoValid into your applications